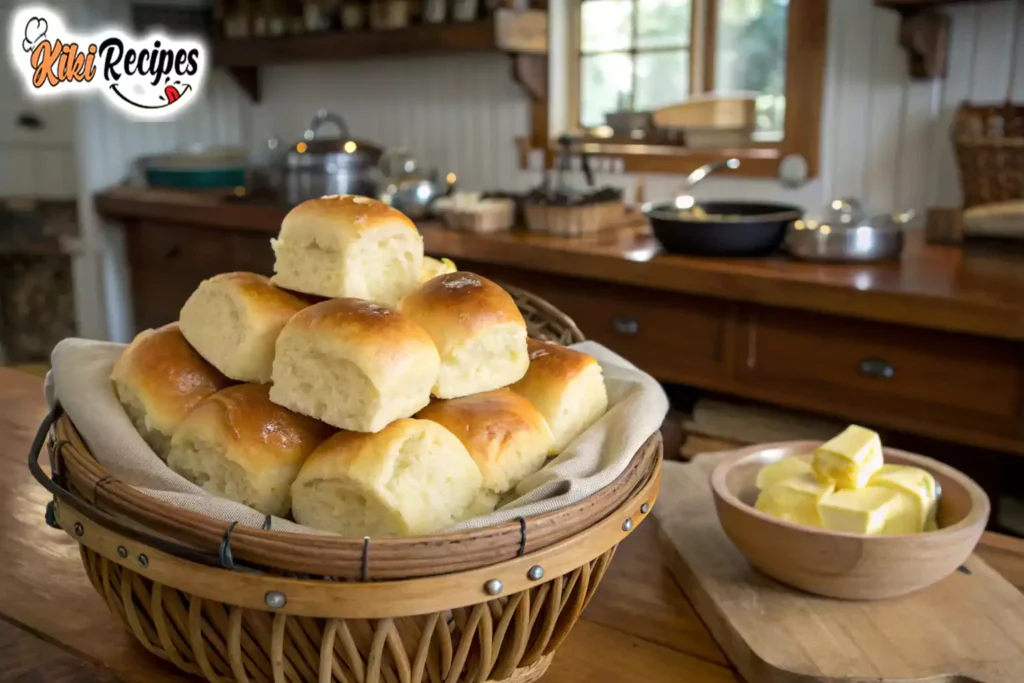
Ingredients You’ll Need for the Perfect Old-Fashioned Yeast Rolls

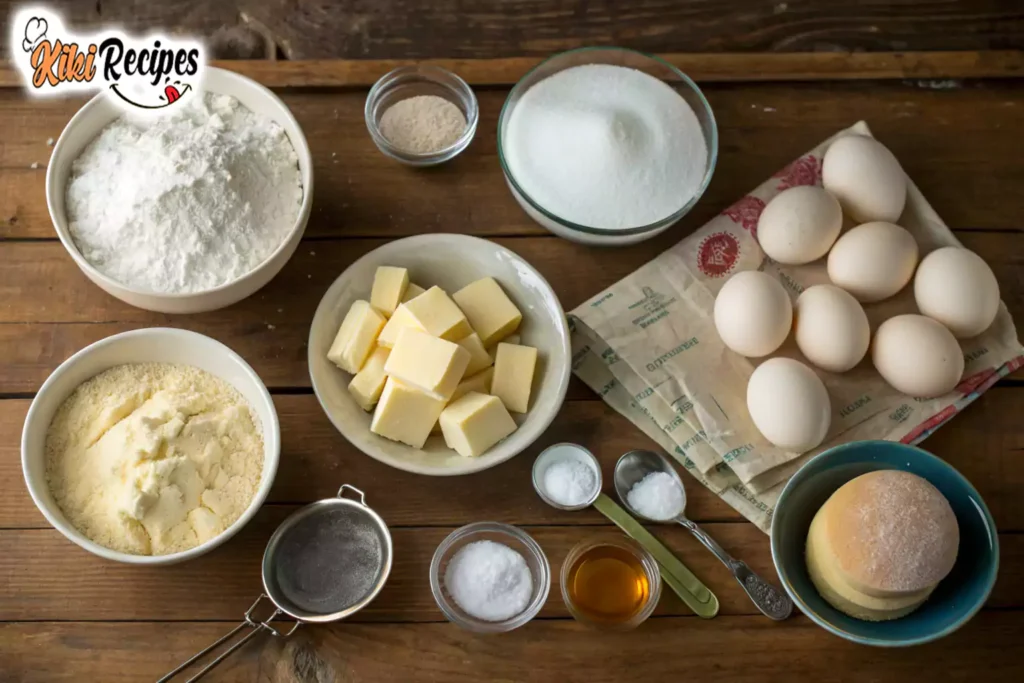
Making the best old-fashioned yeast rolls starts with the right ingredients. Each component plays a vital role in achieving those soft, fluffy, and mouthwatering rolls you’ve been dreaming about. From flour to butter, every detail counts! In this section, we’ll break down what you need to make sure your rolls turn out just right.
1.1 Key Ingredients for Yeast Rolls
Flour: Choosing Between Bread Flour and All-Purpose Flour
When making old-fashioned yeast rolls, the type of flour you use can make or break the texture of your rolls. For the softest, fluffiest results, bread flour is the preferred choice. Why? It has a higher protein content than all-purpose flour, which helps develop gluten. This gives your rolls that light, airy texture and ensures they rise well. If you’re in a pinch, all-purpose flour will work, but you may notice a slight difference in texture and fluffiness.
Active Dry Yeast or Instant Yeast?
Now, let’s talk about the yeast. You might be wondering whether to use active dry yeast or instant yeast for your rolls. Both types are perfect for old-fashioned yeast rolls, but they work a little differently.
Active dry yeast needs to be activated by dissolving it in warm water before use. On the other hand, instant yeast doesn’t require activation, which can make your recipe a bit quicker and easier. If you’re a beginner or in a rush, instant yeast is your friend! However, if you’re into a more traditional approach, then active dry yeast will serve you well.
Milk: The Secret to Soft and Tender Rolls
Using whole milk is the secret ingredient that gives your rolls a rich, tender texture. The fat content in whole milk helps create that melt-in-your-mouth softness, which is what we all love in old-fashioned yeast rolls. While you can substitute with low-fat milk or non-dairy alternatives, they won’t provide the same richness and flavor. So, for the best results, opt for good old whole milk.
Butter: For Flavor and Softness
Butter isn’t just for greasing the pan—it’s a critical ingredient for old-fashioned yeast rolls. It contributes to that soft, pillowy texture and gives the rolls a subtle, buttery flavor that makes them irresistible. Be sure to use unsalted butter to have more control over the salt content in your recipe. If you want to get fancy, you can even melt the butter and mix it directly into the dough, but be mindful not to add too much. A little goes a long way!
Sugar: Sweetening the Dough
While yeast rolls aren’t meant to be overly sweet, a bit of sugar is essential. Sugar helps activate the yeast, aiding the rising process. It also adds a touch of sweetness that balances the richness of the butter and milk. If you’re looking for a more complex sweetness, try using honey or brown sugar instead of white sugar.
Salt: Balancing the Flavors
Salt is often an afterthought, but it plays a crucial role in balancing out the sweetness of the dough. Just a pinch of salt helps enhance the other flavors and prevents the rolls from tasting too bland. Be careful, though—too much salt can overpower the dough, so stick to the recipe’s recommended amount.
Eggs: Adding Structure and Color
Eggs are an important part of the old-fashioned yeast rolls dough. They contribute to the overall structure of the rolls, giving them a firm yet tender crumb. Additionally, eggs add a beautiful golden color to the finished product, giving your rolls that perfect, oven-baked look. For this reason, don’t skip this ingredient, even if you’re tempted!

1.2 Optional Ingredients for Extra Flavor
While the base ingredients are key to the classic old-fashioned yeast rolls, you can always add a twist with a few optional extras to elevate your rolls even further.
Honey: For a Subtle Sweetness
If you want to add a touch of natural sweetness, try mixing in some honey along with your sugar. Honey not only sweetens the dough but also contributes to a richer, more complex flavor profile. Plus, it helps keep the rolls moist, ensuring that they stay fresh for a longer period.
Garlic or Herbs: For a Savory Touch
For those who prefer savory rolls, adding garlic or herbs like rosemary or thyme can take your yeast rolls to a whole new level. These additions will create a fragrant aroma while baking, and when paired with a hearty meal, they’ll make an unforgettable side dish.
Milk Powder: For Extra Softness
Want even softer rolls? Consider adding a bit of milk powder. This ingredient will enhance the tenderness and texture of your rolls, making them even fluffier and more delightful. While it’s not necessary, if you’re aiming for that bakery-style softness, it’s worth the extra effort.
1.3 Tips for Choosing the Right Yeast
Choosing the right yeast is crucial to getting that perfect rise and texture. Here’s what you need to know:
- Active dry yeast should be dissolved in warm water before being added to the dough, allowing it to activate properly. Always check the expiration date and test the yeast by dissolving it in warm water with a pinch of sugar. If it starts to bubble, you’re good to go!
- Instant yeast is more convenient as it can be mixed directly with the dry ingredients. It’s generally more reliable, especially for beginners, and leads to faster results.
No matter which yeast you choose, always ensure that it’s fresh for optimal results. The last thing you want is flat, dense rolls due to expired yeast!
Step-by-Step Instructions for Making Old-Fashioned Yeast Rolls
Now that you’ve gathered all the necessary ingredients, it’s time to get your hands a little floury and dive into the step-by-step process for making your perfect old-fashioned yeast rolls. With this guide, you’ll be able to create soft, pillowy rolls that are sure to be the star of your dinner table. Let’s go through each stage of the process to ensure your rolls rise to the occasion!
2.1 Preparing the Dough: Proofing and Mixing
Proofing the Yeast: How to Ensure It’s Active
Before you even begin mixing your ingredients, you’ll need to proof your yeast—this is crucial for ensuring your rolls rise properly. Start by dissolving the active dry yeast (or instant yeast, if that’s what you’re using) in a bowl of warm water. Make sure the water is between 100°F and 110°F—too hot or too cold can kill the yeast. Add a pinch of sugar to feed the yeast. Let it sit for about 5 minutes. If your mixture starts to bubble or foam, congratulations! The yeast is alive and ready to do its job. If not, you might need to start over with fresh yeast.
Mixing Wet and Dry Ingredients: Creating the Dough
Once your yeast is proofed, it’s time to mix the wet and dry ingredients. In a large mixing bowl, combine the flour, sugar, and salt. In a separate bowl, whisk together the milk, melted butter, and eggs. Pour the yeast mixture into the wet ingredients, and then slowly add the dry ingredients. Stir the mixture until it comes together into a sticky dough.
At this stage, the dough will likely be a bit messy and cling to the sides of the bowl. Don’t worry, that’s perfectly normal! Resist the temptation to add too much flour; the dough should remain slightly tacky to the touch.
Kneading the Dough: Creating a Smooth and Elastic Texture
Now comes the fun part: kneading! Transfer the dough to a lightly floured surface and begin to knead it. Push the dough away from you with the palms of your hands, then fold it over and turn it 90 degrees. Repeat this motion for about 8-10 minutes until the dough becomes smooth, elastic, and slightly tacky to the touch. Don’t be afraid to get your hands dirty; the more you knead, the better your rolls will turn out!
Kneading helps develop the gluten in the flour, which creates the structure needed for those soft and fluffy yeast rolls. You’ll know you’ve kneaded enough when the dough springs back when pressed lightly with your finger.
First Rise: Allowing the Dough to Double in Size
Once your dough is kneaded to perfection, place it in a lightly greased bowl. Cover it with a clean kitchen towel or plastic wrap. Let it rise in a warm place for about 1-1.5 hours, or until it has doubled in size. This is the first rise, and it’s where the yeast does its magic, turning the dough into a light and airy base for your rolls.
Pro Tip: If your kitchen is cold, you can place the bowl in an oven with just the light on, or use a warm spot in your home to give the dough a bit of a boost.
2.2 Shaping the Rolls: Forming the Perfect Shape
How to Shape the Rolls: Classic Round vs. Pull-Apart Rolls
Once the dough has risen, it’s time to shape it. Gently punch the dough down to release any air bubbles. Then, divide the dough into equal portions—about 12-15 pieces, depending on the size of your rolls.
There are two main ways to shape your rolls:
- Classic Round Rolls: Roll each piece of dough into a smooth ball and place it in a greased baking dish, leaving a little space between each roll.
- Pull-Apart Rolls: Divide the dough into smaller portions (around 3-4 pieces per roll), shape them into balls, and place them closely together in a baking dish. This will create the signature pull-apart texture that makes these rolls so irresistible.
Ensuring Uniformity
To make sure each roll bakes evenly, it’s essential to shape them to similar sizes. If they’re not equal, some will bake faster than others, and you might end up with unevenly baked rolls. A kitchen scale can help you measure each piece of dough to be sure they’re the same size!

FAQs: Answering Your Common Questions About Old-Fashioned Yeast Rolls
Q1: Is butter or shortening better for yeast rolls?
When it comes to making old-fashioned yeast rolls, butter is typically the preferred choice. Butter contributes to the rich, buttery flavor and soft texture that makes these rolls irresistible. It also helps in creating a golden, glossy finish when brushed on top. Shortening, on the other hand, has a higher fat content, which can make the rolls a little denser. While shortening can work in a pinch, using butter will give you that classic flavor and texture you expect from perfect yeast rolls.
Q2: Why aren’t my yeast rolls light and fluffy?
If your yeast rolls aren’t light and fluffy, there could be a few reasons why. First, make sure your yeast is active and fresh. If your yeast is expired or hasn’t been proofed properly, the dough won’t rise properly. Second, avoid overkneading the dough, as this can develop too much gluten, making the rolls dense. Finally, ensure that you’re giving the dough enough time to rise. If the dough doesn’t rise long enough during the first or second rise, your rolls will lack the airiness you’re looking for.
Q3: What is the secret to soft buns?
The secret to soft yeast rolls (or buns) lies in the balance of ingredients and technique. Whole milk and butter are key players in creating a tender, moist texture. The milk helps the dough stay soft, while the butter adds richness. Additionally, making sure you don’t overbake your rolls is crucial—when they’re too dark on the outside, they can dry out. The second rise also contributes to softness, as it allows the dough to retain more air, giving the rolls that melt-in-your-mouth texture.
Q4: Can you use milk instead of water in yeast rolls?
Yes! You can absolutely use milk instead of water in your yeast rolls dough. In fact, milk is often preferred for the best texture and flavor. It adds richness and helps the rolls stay tender and soft. While water-based doughs can sometimes result in a more basic flavor, using milk elevates the taste and texture, making your rolls extra soft and delicious.
Conclusion: Bringing Tradition to Your Table with Perfect Yeast Rolls
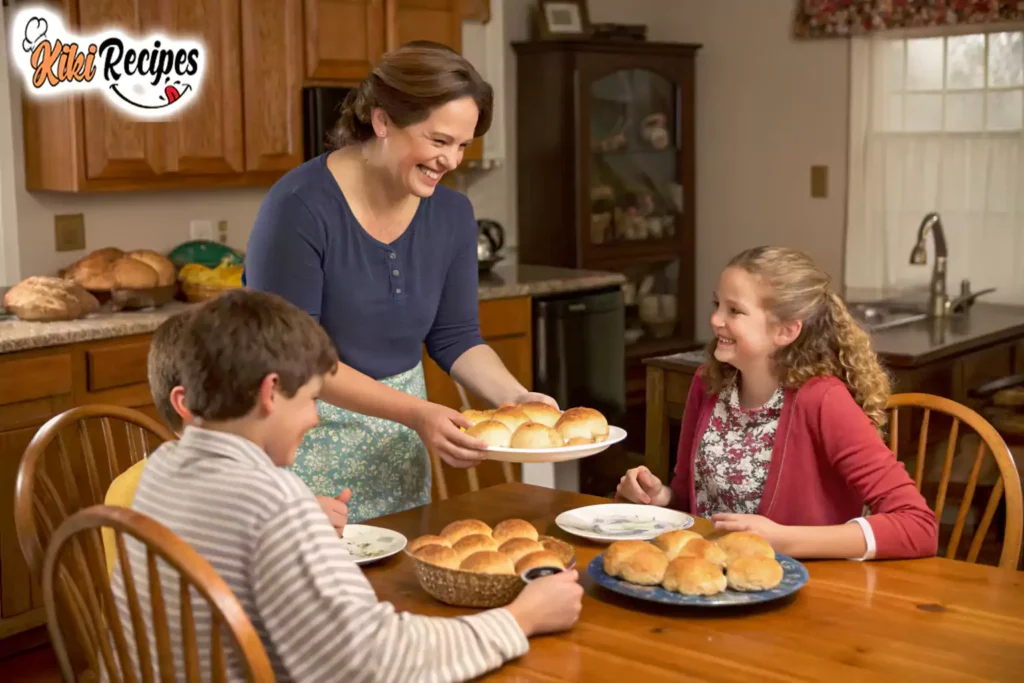
There you have it—the complete guide to making old-fashioned yeast rolls that will leave everyone at the table asking for seconds. From choosing the right ingredients to shaping and baking the rolls, this recipe brings all the comforting flavors of a classic yeast roll to your kitchen. Remember, the key to perfect rolls lies in patience and attention to detail, whether it’s proofing your yeast or giving the dough enough time to rise. So go ahead, get your hands in the dough, and enjoy the process of creating these delightful, soft, and buttery rolls that will surely impress. Happy baking!
You’ll Also Love
Hershey Chocolate Chip Cookie Recipe: The Ultimate Baking Guide

